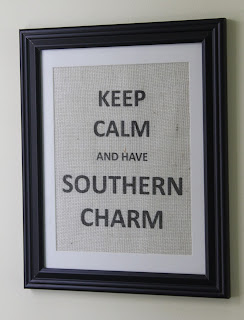
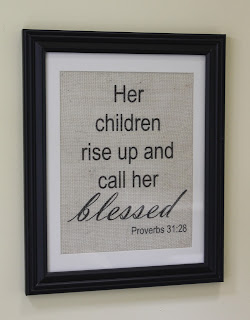
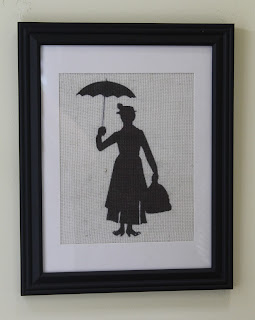
I just added several new prints to my Etsy shop. I hope you like!
Sunday, March 23, 2014
Thursday, March 13, 2014
11 Budget Friendly Organization Ideas
1. Ikea Expedit for Toy Storage. I covered a piece of foam core board in a cute chevron fabric and attached it to the back of the Expedit unit with screws to add a pop of color and to prevent toys from falling behind the shelves. Then I made these matching labels using this free printable and attached them to the fabric bins with metal snaps and the plastic bins with stick on Velcro/ribbons.
2. Ikea Ribba picture ledges for children's book storage. Books are on display, not hidden, making them more accessible to little hands.
3. DIY fabric storage bins for changing table. I used this fantastic tutorial to make the storage bins on the changing table. I winged the fabric inserts for the wire baskets on the wall.
4. DIY magazine files for mail sorting. I used mod podge to cover these Ikea Flyt magazine files and I added these cute chalkboard labels that I made using this free printable.
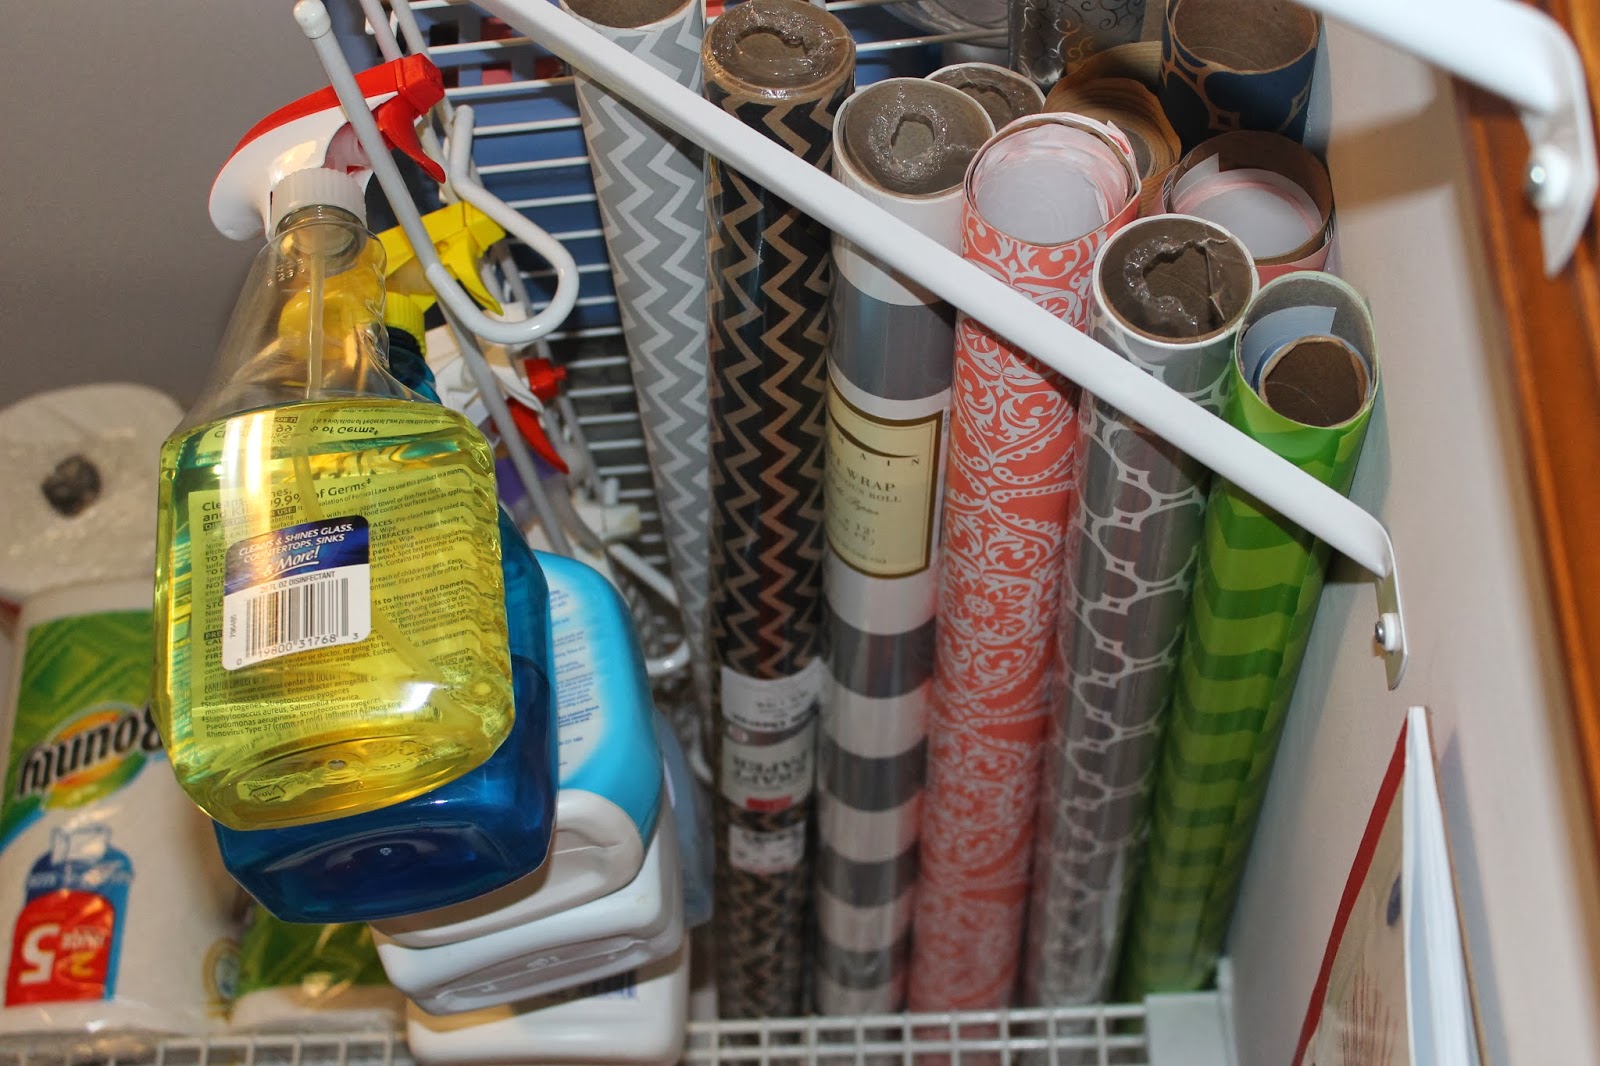
5. Store wrapping paper rolls within the brackets of existing wire shelves. Most of us already have these hanging in closets/laundry rooms so this storage solution is completely FREE!
For dual purpose storage, hang spray cleaners from existing wire shelves.
6. DIY fabric wall pockets. I made these wall pockets with some leftover fabric to hold paper items in my craft cabinet. Tutorial coming soon!
7. Store DVDs in baskets and label each basket with genre.
8. DIY Duplo table from Ikea Lack Table. My friend gave me this great idea. I just glued a Duplo base to the top of the Ikea Lack table and then added drawer slides from Lowes and an Ikea Trofast bin as a drawer to store the Duplos. Total cost under $30!
9. Shoe bags to store cleaning and personal care products. These handy shoe bags are on the backs of all my closets doors and only one of them is actually used for shoes. I store cleaning products, baby products, personal care items, and kids' are supplies in them.
10. Hang an outdoor wall planter beside the shower to hold washcloths. I picked this one up at a local consignment store for under $10 and painted it with oil rubbed bronze spray paint. It's so convenient to have the washcloths right beside the shower.
11. DIY closet divider labels. I mod podged cute patterned scrapbook papers to flat balsam wood ornaments to create these labels. I cut the numbers out using my Cricut machine and attached them using mod podge.
Sunday, February 16, 2014
Nursery Reveal!
We're expecting our second child, a little girl, in April! I have been working on her nursery for a while and it's finally done. I'm so excited to reveal it. I hope you enjoy! I've included a source list for most of the items but if I missed anything, feel free to post your questions!
Source List:
Check out www.eastcoastcreativeblog.com!
Source List:
- Crib and Changing Table - Amazon (DaVinci Jenny Lind)
- Chest of Drawers - Through the Garden Gate Antiques, Hanover County, VA (painted with Annie Sloan Chalk Paint in Pure White)
- Chair - Ikea Ektorp JennyLund Chair with Blekinge White Cover
- Ottoman - Ikea Ektorp Footstool with Blekinge White Cover
- Side Table - Class and Trash, Glen Allen, VA (painted with Annie Sloan Chalk Paint in Pure White)
- Lamp and Shade - Pottery Barn Kids
- Framed Quote Wall Art - I made these. Be sure to check out my Etsy shop, Magnolia Mommy Made, for these prints and more!
- Picture and Book Ledges - Ikea Ribba Picture Ledges
- Picture Frames - I made these using unfinished frames from Michael's, mod podge and scrapbook paper
- Crib Skirt - I made this based on this fantastic tutorial from www.viewalongtheway.com (the fabric is Premier Prints brand and I bought it from www.fabric.com)
- Crib Sheet - Pottery Barn Kids Chamois Crib Fitted Sheets (my favorite crib sheets!)
- Clock - Pottery Barn
- Mercury Glass Canisters - Hobby Lobby (50% off sale!!)
- Curtains and Faux Roman Shade - I made these (the fabric is Premier Prints brand and I bought it from www.fabric.com)
- Curtain Rod and Holdbacks - Target
- Cushion - I made this (the fabric is Premier Prints brand and I bought it from www.fabric.com)
- Monogram Vinyl Decal - I bought this from a great Etsy shop, Custom Vinyl by Bridgett
- Tissue Paper Pom Poms - I made these using tissue paper I purchased from another fantastic Etsy shop, Morrell Décor
- Fabric Storage Bins (in the changing table) - I made these based on this great tutorial from www.makeit-loveit.com (the fabric is Premier Prints brand and I bought it from www.fabric.com)
- Wire Baskets above Changing Table - Homegoods ($4 - score!)
- Fabric Inserts in Wire Baskets - I made these (the fabric is Premier Prints brand and I bought it from www.fabric.com)
- Button Monogram Bow Holder - I made this with an unfinished wooden plaque from Hobby Lobby, scrapbook paper, buttons and ribbon
- Headband Holder - I made this based on this tutorial from Lis Dunn Designs (the fabric is Premier Prints brand and I bought it from www.fabric.com and the trim and glass base are from Hobby Lobby)
- Embroidery Hoop Wall Art - I made these with embroidery hoops, fabric and my trusty hot glue gun (the fabric is Premier Prints brand and I bought it from www.fabric.com)
- Quilt - Designed and made by my amazing Momma (the fabric is Premier Prints brand and she bought it from www.fabric.com)
- Lamb Rocker - Pottery Barn Kids
Check out www.eastcoastcreativeblog.com!
Thursday, September 5, 2013
New Seasonal Burlap Wall Prints Now Available!
If you know me, you know I LOVE all things seasonal and holiday related! That is why I'm so excited to unveil my latest burlap wall prints. I've started with fall, Thanksgiving, and Christmas but the possibilities are endless! I love that these prints provide an easy way to update your décor based on the season or holiday. I hope you enjoy!
Tuesday, August 6, 2013
Tutorial: Fabric Covered Magnetic Memo Board
Supplies Needed:
·
12”x18” Zinc-Plated Metal Sheet (available at
hardware stores)
·
Fabric (at least 16”x22”)
·
Ribbon (about ½ yard)
·
Glue gun
·
Glue sticks
·
Hammer
·
Large Nail
·
Iron
·
Ruler (optional)
·
Tape (optional)
Instructions:
1.
Iron fabric to smooth any wrinkles.
2.
Lay fabric face down.
3.
Position metal sheet in the middle of the fabric.
4.
Start with any side and fold the fabric until it
meets the metal sheet and iron a crease along the fold.
5.
Run a bead of glue on the metal sheet on the
same side with the folded fabric.
6.
Fold the fabric onto the line of glue and press
firmly (be careful not to burn yourself).
7.
When the glue is set (or cool), repeat steps 4
through 6 for the opposite side of the metal sheet (be sure the pull the fabric
taut).
8.
Repeat steps 4 through 7 for the remaining two
sides but when you fold these sides fold the corners in like a package for a
finished, mitered corner look.
9.
Next, you will attach the ribbon which will be
used to hang the board. Measure about 2”
down from the top of the board and measure about 4” from each of the sides and
hammer the nail through the board to create holes for the ribbon. Be sure to hammer the nail from the front of
the board and out the back of the board.
Once the nail has created a hole, turn and press the nail to enlarge and
smooth out the hole. Remove the nail.
10.
Thread one end of the ribbon through one of the
nail holes and tie a knot in the ribbon (the knot should be on the back side of
the board). When threading the ribbon
through the hole, insert the ribbon in the front of the board and pull the
ribbon out the back side of the board.
If you have difficultly threading the ribbon through the hole, wrap the
end of the ribbon in tape like a shoelace.
11.
Repeat step 10 with the other end of the ribbon
and the other nail hole. Your magnetic
memo board is now ready for wall hanging!
Thursday, July 11, 2013
If you like what you see, vote for me!
Each year, Martha Stewart Living hosts the "American Made" awards, a contest which celebrates small businesses that create handmade products in America. I'm an American Made audience choice nominee. If you like what you see on my blog and in my Etsy shop, please check out my American Made profile and vote for me! Thanks!!
Saturday, June 22, 2013
New Products: Burlap Wall Prints!
I'm so excited about my new burlap wall prints! Anyone who has ever visited my house knows that I love a good quote and I love to display them on the wall. So, this new venture was a natural progression for me. Here are a few of my new wall prints. If you like them, be sure to vist my Etsy shop!
Subscribe to:
Posts (Atom)


